

Table of Contents
Introduction to Arduino LED Brightness Control Using PWM
The Arduino LED Brightness Control Using PWM project is one of the most practical and engaging Grade 8 STEM Activities that introduces students to electronics, coding, and embedded systems. Unlike a simple LED blinking project, this activity demonstrates how an LED can glow at different brightness levels using Pulse Width Modulation (PWM).
In everyday electronic devices, brightness control is an essential feature. From smartphone screens and LED lamps to industrial displays and smart lighting systems, PWM technology is widely used to regulate power efficiently. Through this Arduino LED Brightness Control Using PWM project, students learn how software and hardware work together to create variable light intensity.
This project helps learners understand analog-like control using digital electronics while strengthening their knowledge of Arduino programming and circuit design.
https://robosiddhi.shop/uno-development-board
What is PWM in Arduino?
PWM stands for Pulse Width Modulation.
Normally, a digital pin can only produce two outputs:
- LOW (0 Volts)
- HIGH (5 Volts)
PWM allows Arduino to simulate analog output by rapidly switching between HIGH and LOW states.
The PWM value ranges from:
0\leq PWM\leq255
PWM Values and Brightness Levels
| PWM Value | LED Brightness |
|---|---|
| 0 | Fully OFF |
| 50 | Low Brightness |
| 127 | Medium Brightness |
| 200 | High Brightness |
| 255 | Maximum Brightness |
The higher the PWM value, the brighter the LED appears.
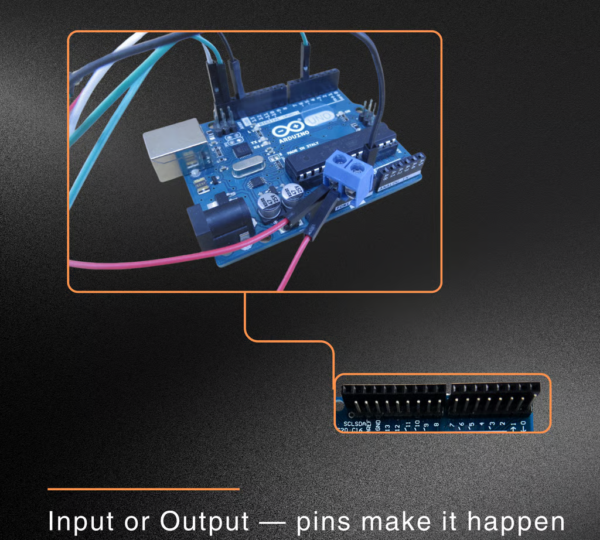
Arduino Uno supports PWM on the following pins:
- Pin 3
- Pin 5
- Pin 6
- Pin 9
- Pin 10
- Pin 11
For this project, Pin 9 is used.
Components Required
To build the Arduino LED Brightness Control Using PWM project, students need:
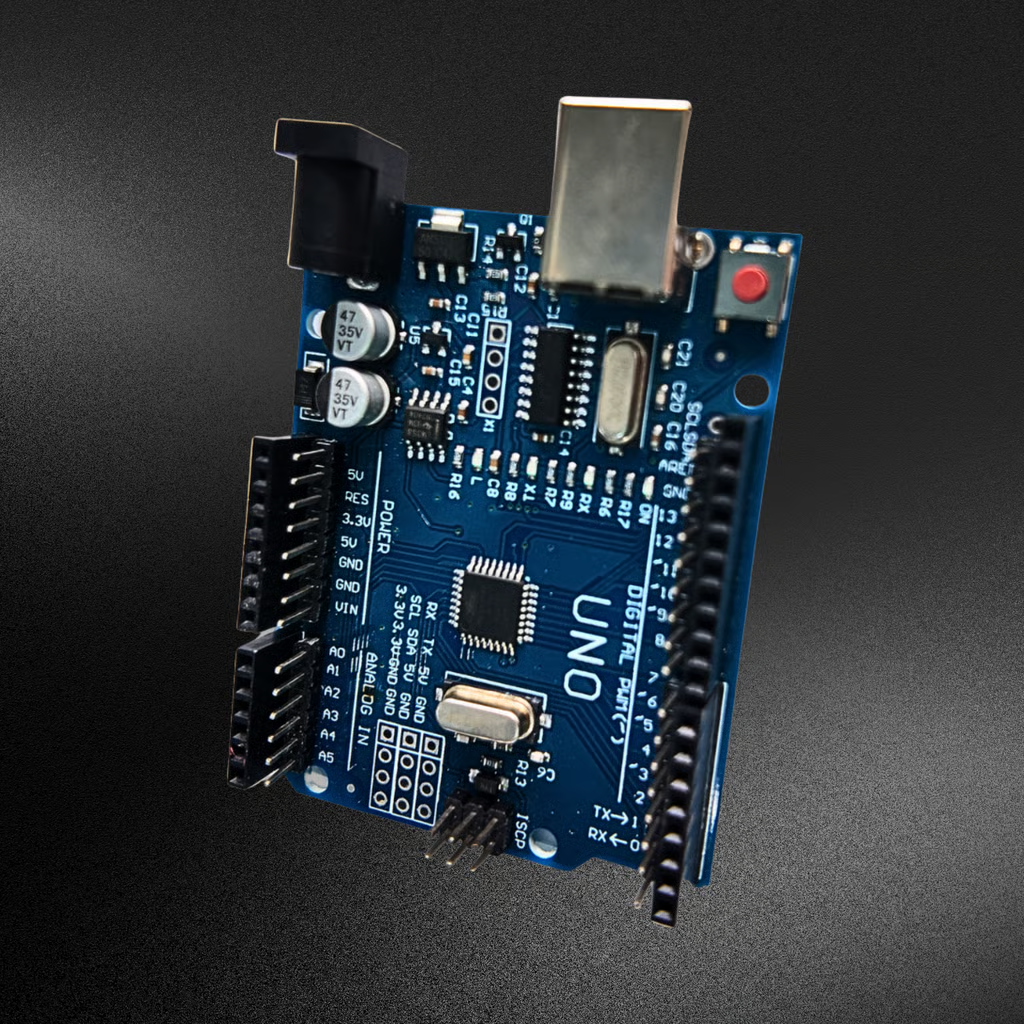
- Arduino Uno Board
- LED
- Resistor
- Breadboard
- Jumper Wires
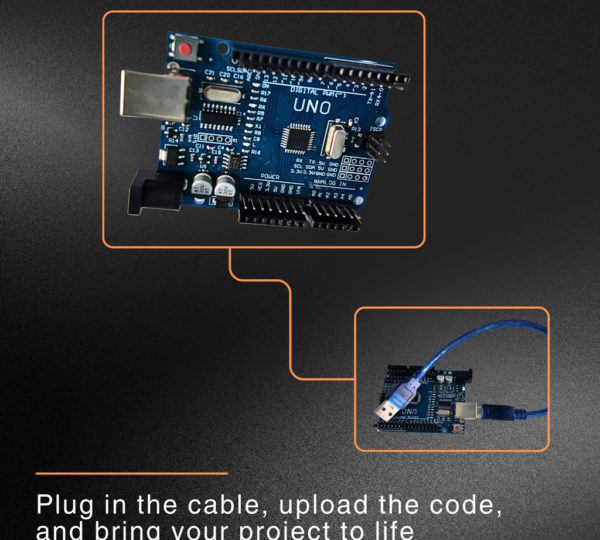
- USB Cable
- Arduino IDE Software
These components are commonly available in Arduino starter kits and STEM learning labs.
Understanding the Arduino LED Brightness Control Using PWM Project
The objective of this project is to control LED brightness using PWM signals generated by Arduino.
Instead of switching the LED completely ON or OFF, Arduino sends PWM values that determine the perceived brightness level.
The project demonstrates several brightness levels such as:
- PWM Value 0 → LED OFF
- PWM Value 50 → Dim Glow
- PWM Value 128 → Medium Glow
- PWM Value 250 → Bright Glow
- PWM Value 255 → Maximum Brightness
By gradually changing PWM values, students can visually observe how brightness varies.
This project introduces one of the most important concepts in embedded programming and electronics.
Circuit Connections
The circuit is simple and beginner-friendly.
LED Wiring
| Component | Connection |
|---|---|
| LED Anode (+) | Resistor |
| Resistor | Arduino PWM Pin 9 |
| LED Cathode (-) | Arduino GND |
Why is a Resistor Important?
The resistor limits current flowing through the LED.
Benefits include:
- Protecting the LED
- Preventing excessive current
- Improving circuit reliability
- Extending component lifespan
Without a resistor, the LED may get damaged.
Programming the LED Brightness Control Project
The program starts by defining Pin 9 as the LED output pin.
int\ ledPin=9
Inside the setup function, the pin is configured as an output.
pinMode(ledPin,OUTPUT)
The brightness control is achieved using the analogWrite() function.
Example PWM Command
analogWrite(ledPin,128)
This command sets the LED brightness to approximately 50%.
The program repeatedly changes PWM values and uses delays to make brightness changes visible to the user.
How PWM Controls Brightness
Pulse Width Modulation works by rapidly switching a signal ON and OFF.
Low Duty Cycle
The signal stays ON for a short duration.
Result:
- Dim LED brightness
Medium Duty Cycle
The signal stays ON for half of the cycle.
Result:
- Medium LED brightness
High Duty Cycle
The signal remains ON most of the time.
Result:
- Bright LED output
Because the switching occurs extremely fast, the human eye perceives a smooth brightness level instead of blinking.
This makes PWM an efficient technique for controlling LEDs, motors, and other electronic devices.
Benefits of Learning PWM Programming
The Arduino LED Brightness Control Using PWM project provides several educational advantages.
Introduces Analog Control Concepts
Students learn how digital devices can simulate analog behavior.
Enhances Programming Skills
Learners gain experience with functions, variables, and timing.
Develops Electronics Knowledge
Students understand LED operation and current limiting techniques.
Encourages Experimentation
Different PWM values can be tested to observe various brightness levels.
Supports STEM Learning
The project combines Science, Technology, Engineering, and Mathematics in a practical way.
Real-World Applications of PWM
PWM technology is used extensively in modern electronics.
LED Lighting Systems
Brightness control in homes and commercial buildings.
Smartphone Displays
Adjusting screen brightness levels.
Computer Monitors
Power-efficient display management.
Motor Speed Control
Robotics and automation systems use PWM to control motor speed.
Smart Home Automation
Intelligent lighting systems use PWM for energy-efficient operation.
Industrial Automation
PWM controls sensors, motors, and industrial equipment.
Understanding PWM helps students appreciate how modern electronic systems function.
Grade 8 STEM Activities with Arduino
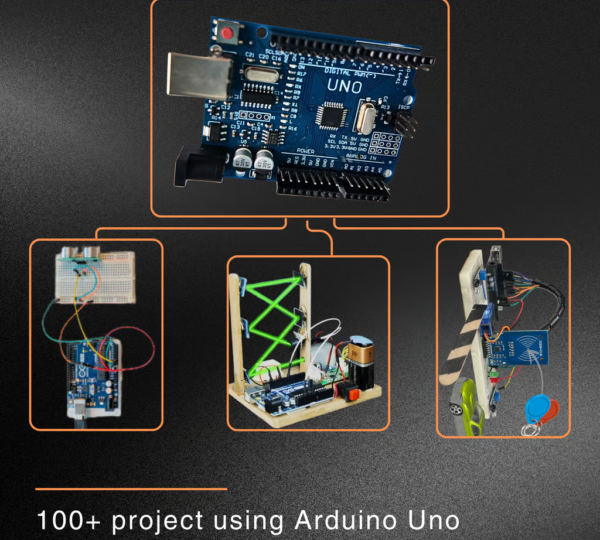
After completing the Arduino LED Brightness Control Using PWM project, students can explore additional Grade 8 STEM Activities such as:
- Arduino LED Blink Using For Loop
- Smart Door System Using Arduino
- Traffic Light Simulation Project
- Servo Motor Control Project
- LDR Sensor with Arduino
- ESP32 Automation Projects
- Obstacle Detection Robot
These activities help students build a strong foundation in coding, electronics, and robotics.
RoboSiddhi STEM Learning Programs
RoboSiddhi promotes hands-on STEM learning through robotics, electronics, coding, and engineering projects. Students learn by building real-world applications instead of relying solely on theoretical concepts.
Projects such as Arduino LED Brightness Control Using PWM help learners understand automation, embedded systems, and programming fundamentals while encouraging creativity and innovation.
RoboSiddhi STEM programs prepare students for future careers in technology, robotics, artificial intelligence, and engineering.
Frequently Asked Questions
What is PWM in Arduino?
PWM stands for Pulse Width Modulation, a technique used to simulate analog output using digital signals.
Which Arduino pins support PWM?
Arduino Uno supports PWM on Pins 3, 5, 6, 9, 10, and 11.
Why is Pin 9 used in this project?
Pin 9 is a PWM-enabled pin capable of controlling LED brightness using analogWrite().
What is the range of PWM values?
PWM values range from 0 to 255.
Is this project suitable for beginners?
Yes. It is one of the best Grade 8 STEM Activities for introducing PWM concepts and Arduino programming.
Conclusion
The Arduino LED Brightness Control Using PWM project is an excellent way to introduce students to advanced LED control techniques. By using PWM-enabled pins and the analogWrite() function, learners can control LED brightness smoothly rather than simply switching it ON or OFF.
As one of the most engaging Grade 8 STEM Activities, this project teaches programming, electronics, and embedded systems through hands-on experimentation. Students gain valuable skills in coding, problem-solving, and automation while understanding one of the most widely used technologies in modern electronics.