
Electronics and programming become much more exciting when students can see their code come to life. In this ESP32 LED Blinking Pattern project, students learn how to control multiple LEDs using an ESP32 microcontroller. This hands-on activity introduces coding, circuit design, and microcontroller programming in a simple and engaging way.
The ESP32 LED Blinking Pattern project is perfect for beginners who want to explore the world of embedded systems and robotics. By connecting three LEDs to different GPIO pins of the ESP32, students can create various blinking sequences and understand how software interacts with hardware.
Table of Contents
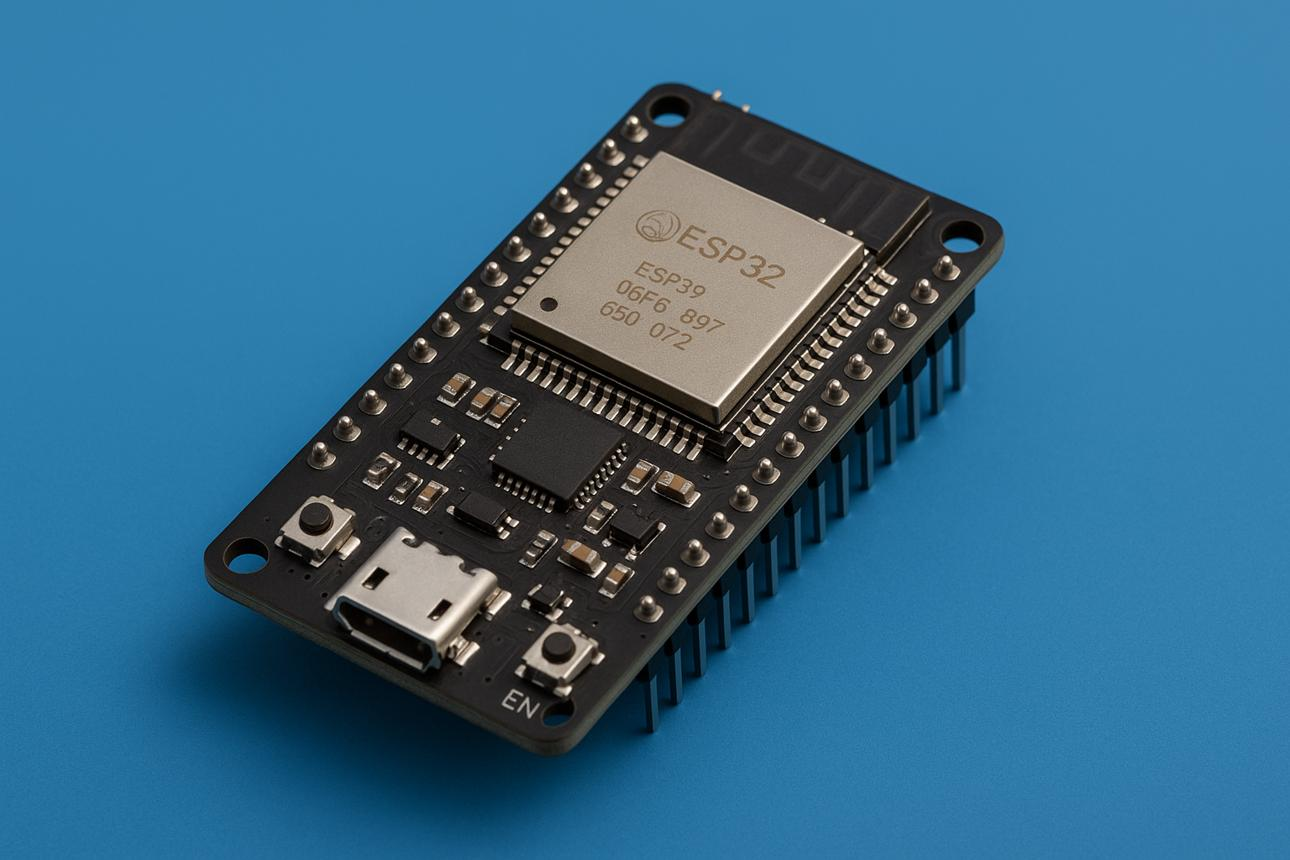
What is ESP32?
ESP32 is a powerful microcontroller widely used in robotics, automation, and Internet of Things (IoT) projects. It contains multiple GPIO pins that can be programmed to control LEDs, sensors, motors, and other electronic devices.
Compared to traditional microcontrollers, ESP32 offers faster processing speed, built-in Wi-Fi, and Bluetooth connectivity, making it an excellent platform for STEM learning.
Components Required
To build this ESP32 LED Blinking Pattern project, you will need:
- ESP32 Development Board
- Breadboard
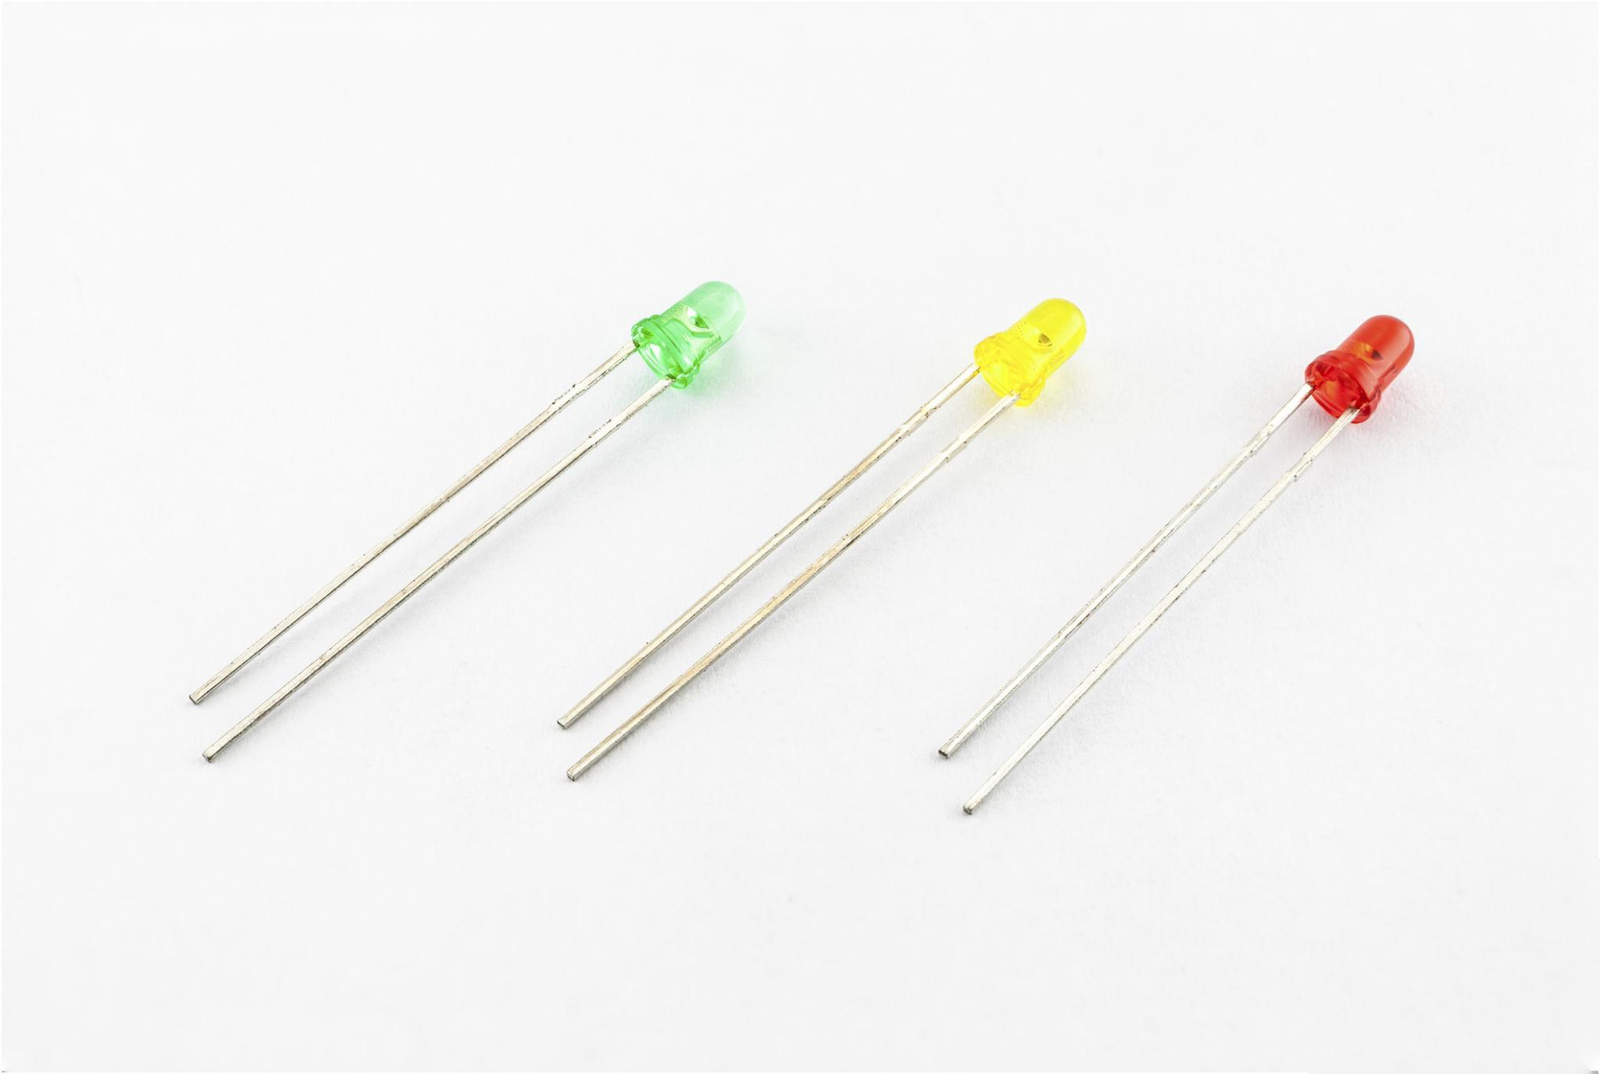
- 3 LEDs
- 3 Current Limiting Resistors (220Ω–330Ω)
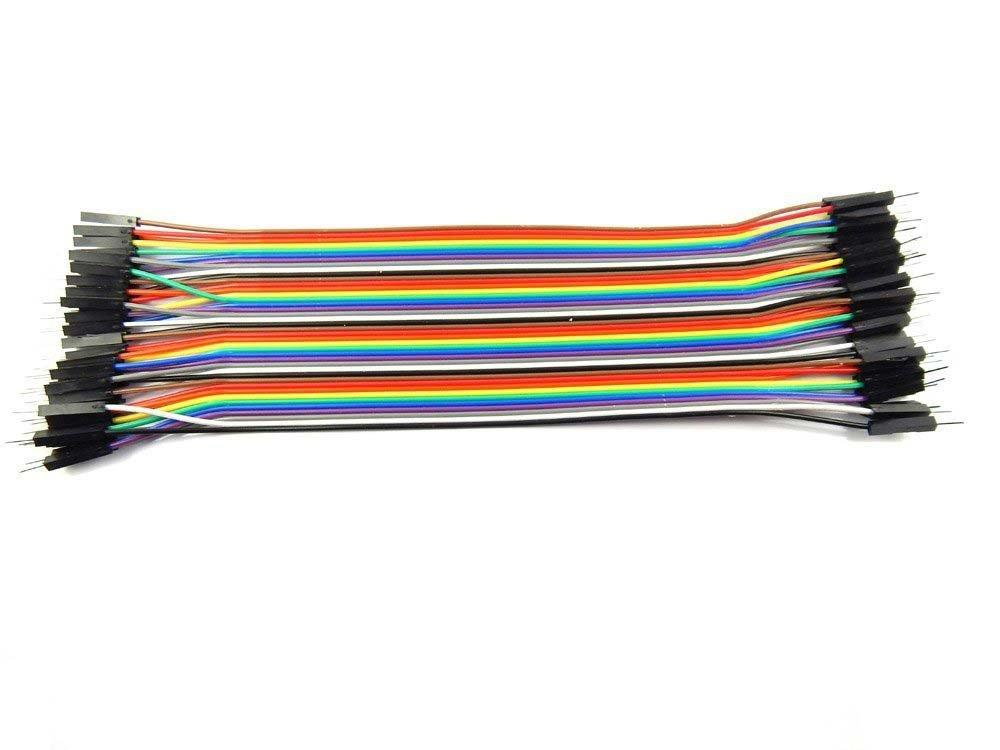
- Jumper Wires
- USB Cable
- Computer with Arduino IDE
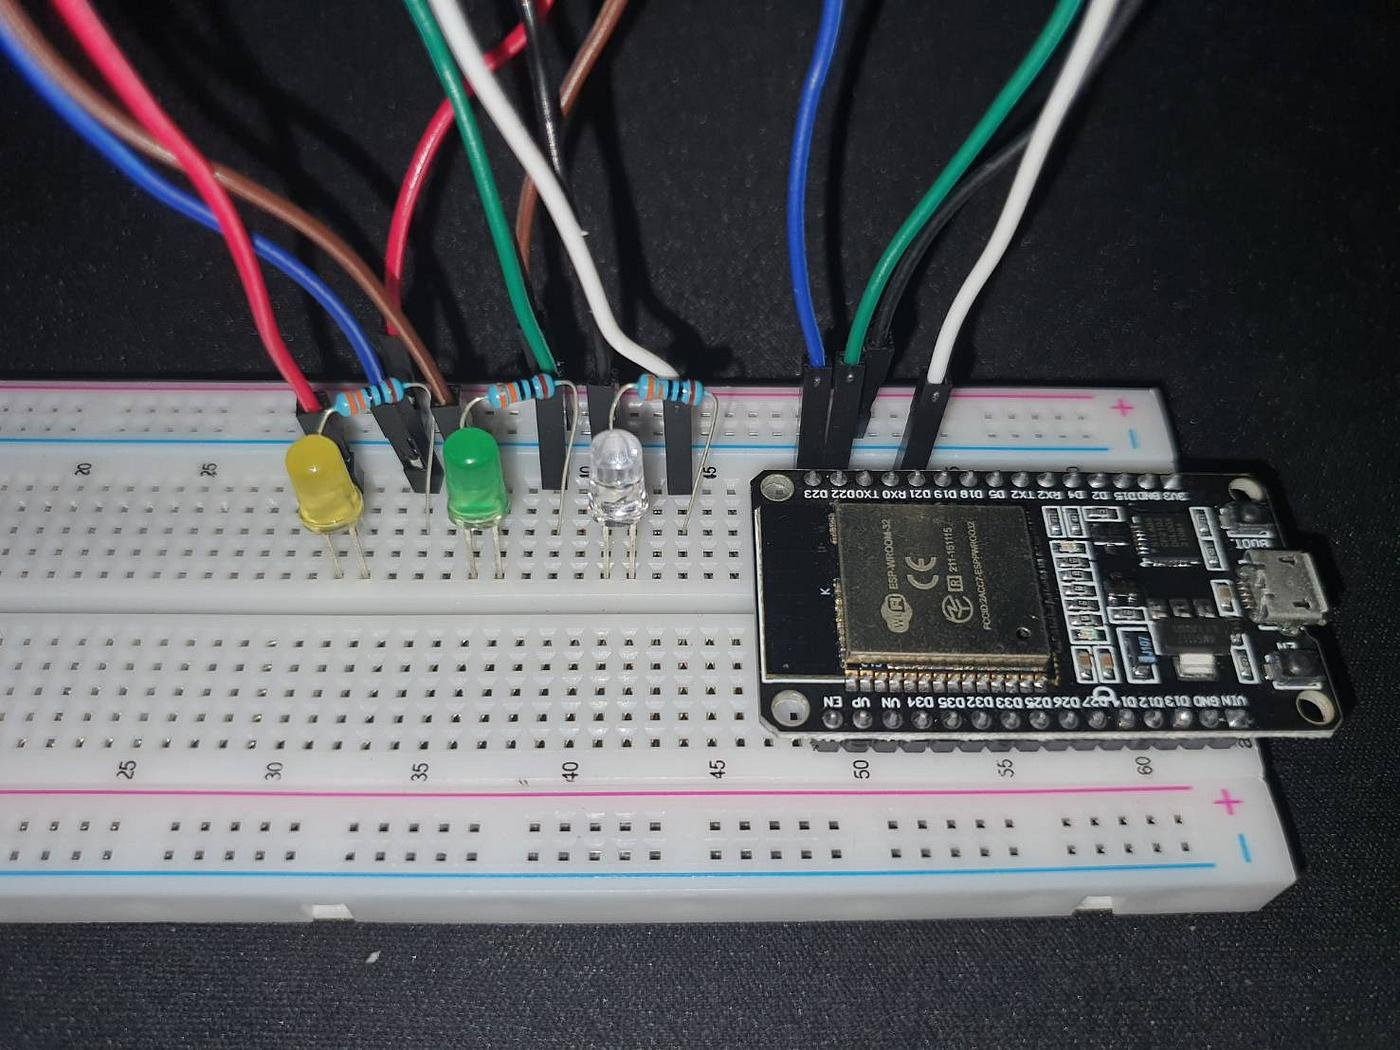
Circuit Connections
The circuit setup is straightforward and beginner-friendly.
| LED | ESP32 Pin |
|---|---|
| LED 1 | GPIO 2 |
| LED 2 | GPIO 4 |
| LED 3 | GPIO 5 |
| Common Ground | GND |
Each LED should be connected in series with a resistor to protect it from excessive current.
The negative terminals of all LEDs are connected to a common ground line, which is then connected to the GND pin of the ESP32.
How the ESP32 LED Blinking Pattern Works
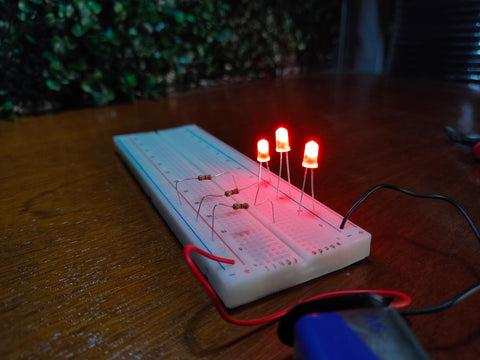
The main idea behind the ESP32 LED Blinking Pattern project is to create a sequence where LEDs turn ON and OFF in a predefined order.
The ESP32 continuously executes instructions written inside the loop() function. These instructions tell the LEDs when to switch ON and OFF.
For example:
- LED 1 turns ON.
- LED 1 turns OFF and LED 2 turns ON.
- LED 2 turns OFF and LED 3 turns ON.
- The sequence repeats continuously.
This creates an attractive blinking pattern that demonstrates the concept of digital output control.
Programming the ESP32
The project is programmed using the Arduino IDE.
The first step is assigning GPIO pins to each LED.
After defining the pins, the LEDs are configured as OUTPUT devices in the setup function.
The main blinking sequence is written inside the loop function using:
digitalWrite()delay()
These commands allow the ESP32 to control the LEDs and create different blinking patterns.
Students can experiment by changing delay values to create faster or slower blinking effects.
Testing the Circuit
After uploading the code:
- Connect the ESP32 to the computer.
- Verify all wiring connections.
- Upload the program through Arduino IDE.
- Observe the LEDs.
If the wiring and code are correct, the LEDs will blink according to the programmed sequence.
Students can modify the code to create their own custom patterns and improve creativity.
Benefits of Learning ESP32
Working on an ESP32 LED Blinking Pattern project helps students develop several technical skills:
- Basic Electronics Knowledge
- Microcontroller Programming
- Circuit Design Skills
- Problem Solving Abilities
- Computational Thinking
- Embedded Systems Fundamentals
These skills form the foundation for more advanced robotics and automation projects.
Grade 8 STEM Activities
This project is an excellent example of Grade 8 STEM Activities because it combines:
Science
Understanding electrical circuits and current flow.
Technology
Using the ESP32 microcontroller and Arduino IDE.
Engineering
Building and testing a working electronic circuit.
Mathematics
Working with timing delays and logical sequences.
Hands-on projects like this make STEM education more interactive and enjoyable while helping students apply classroom concepts in real-world situations.
Learn Robotics with RoboSiddhi
RoboSiddhi provides practical STEM education through robotics, coding, electronics, AI, and automation projects.
Students learn by building real-world applications that strengthen their understanding of technology and engineering concepts.
Popular learning areas include:
- Arduino Programming
- ESP32 Projects
- Robotics and Automation
- Sensor-Based Systems
- IoT Applications
- Artificial Intelligence
- Grade 8 STEM Activities
The ESP32 LED Blinking Pattern project is one of many beginner-friendly activities designed to help students develop technical skills through hands-on learning.
Conclusion
The ESP32 LED Blinking Pattern project is a simple yet powerful introduction to microcontroller programming and electronics. By connecting three LEDs to GPIO pins 2, 4, and 5, students learn how hardware and software work together to create interactive electronic systems.
This ESP32 LED Blinking Pattern activity helps students understand digital outputs, circuit design, and programming logic while building confidence in STEM concepts. As a Grade 8 STEM Activity, it provides a strong foundation for future projects involving sensors, robotics, IoT devices, and automation systems.