
Learn how to build a Raspberry Pi LED Blinking Project using GPIO pin 17 and Python programming. This Grade 9 STEM Activities tutorial teaches Raspberry Pi basics, circuit connections, and GPIO control.
Raspberry Pi LED Blinking Project: 5 Easy Steps for Grade 9 STEM Activities
Introduction
The Raspberry Pi LED Blinking Project is one of the most popular beginner-friendly electronics and programming activities. It introduces students to Raspberry Pi GPIO pins, Python programming, and basic circuit building through a simple LED blinking experiment.
In this project, a Raspberry Pi controls an LED connected to GPIO pin 17. Using Python code, the LED is switched ON and OFF repeatedly, creating a blinking effect. This project helps students understand how software can interact with hardware through GPIO pins.
As part of this project combines science, technology, engineering, and mathematics in a practical and engaging way.
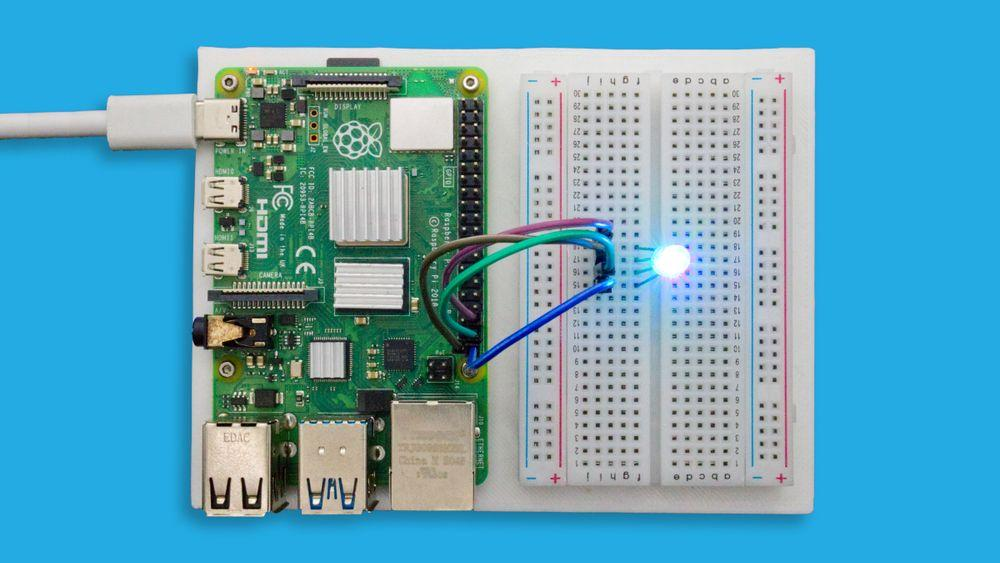
Raspberry Pi controlling an LED through GPIO programming.
Watch the Raspberry Pi LED Blinking Project Tutorial
Learn how to create a Raspberry Pi LED Blinking Project using GPIO pin 17, Python programming, and a simple electronic circuit.
Table of Contents
What is Raspberry Pi?
The Raspberry Pi is a compact and affordable mini computer that can perform many computing tasks while also controlling electronic components through GPIO (General Purpose Input Output) pins.
The Raspberry Pi is approximately the size of a credit card and runs its own operating system. It is widely used in robotics, IoT projects, automation systems, and educational STEM activities.
Key Features of Raspberry Pi
- Small and portable design
- Runs a complete operating system
- Supports Python programming
- Contains multiple GPIO pins
- Ideal for electronics and robotics projects
- Suitable for beginners and advanced users
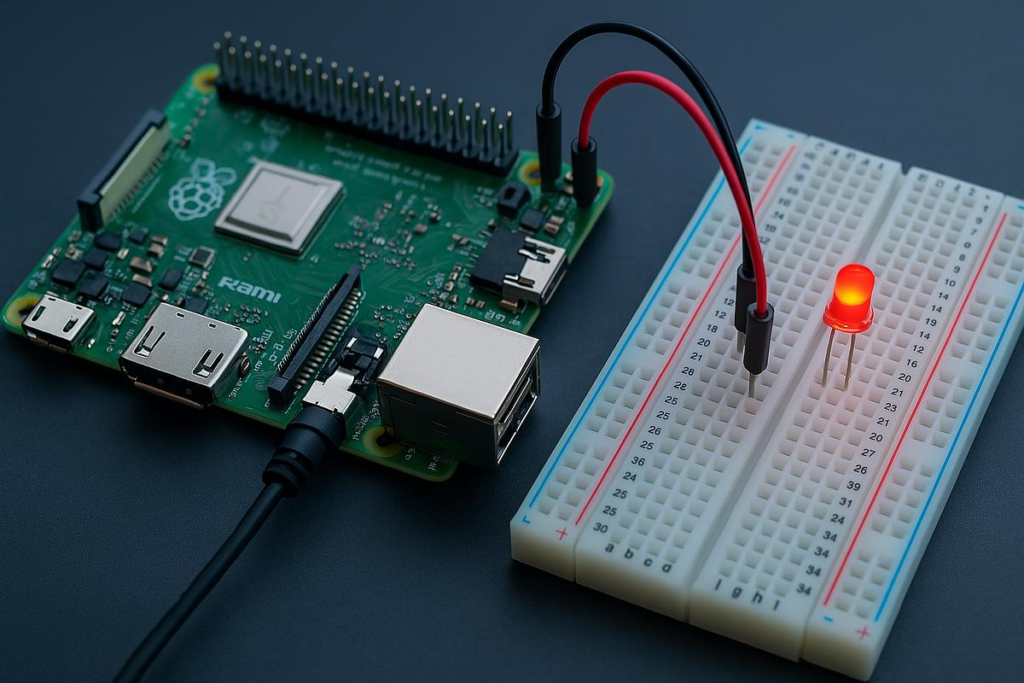
Raspberry Pi connected with LED, resistor, and breadboard for LED blinking.
Components Required
The following components are needed for the Raspberry Pi LED Blinking Project:
| Component | Quantity |
|---|---|
| Raspberry Pi | 1 |
| LED | 1 |
| Resistor (220Ω) | 1 |
| Breadboard | 1 |
| Jumper Wires | Several |
These components create a simple circuit that allows the Raspberry Pi to control an LED.
Circuit Connections
Follow these hardware connection steps carefully.
Step 1
Connect the Raspberry Pi ground pin to the breadboard ground line.
Step 2
Insert the resistor into the breadboard.
Step 3
Connect the negative terminal (cathode) of the LED to the resistor.
Step 4
Connect the positive terminal (anode) of the LED to GPIO 17 on the Raspberry Pi.
Circuit Connection Table
| Component | Raspberry Pi Connection |
|---|---|
| LED Anode (+) | GPIO 17 |
| LED Cathode (-) | Resistor |
| Resistor | Ground |
| Ground Line | Raspberry Pi GND |

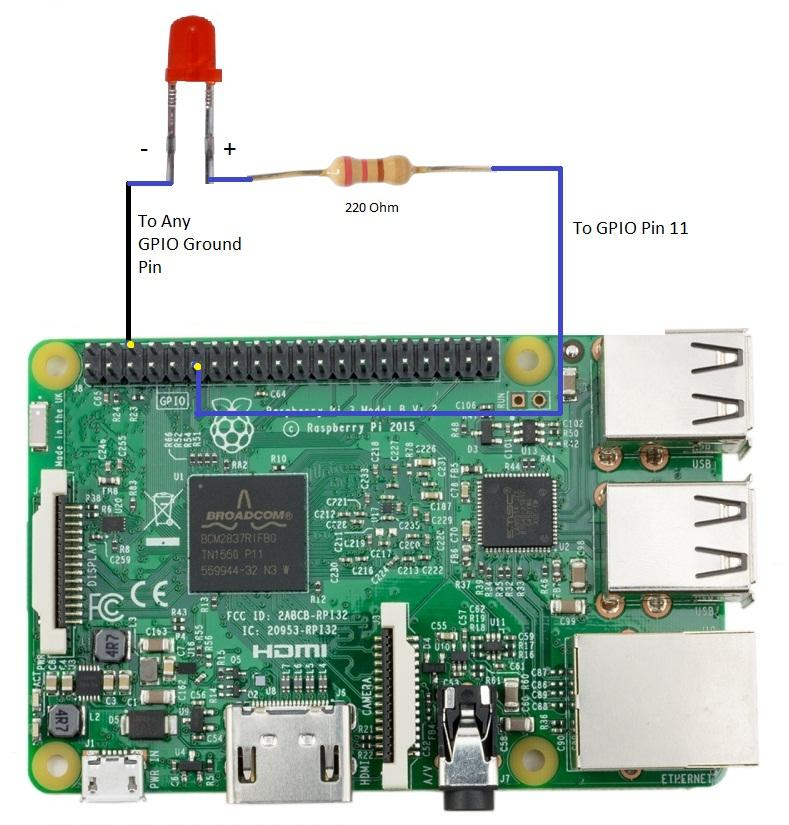
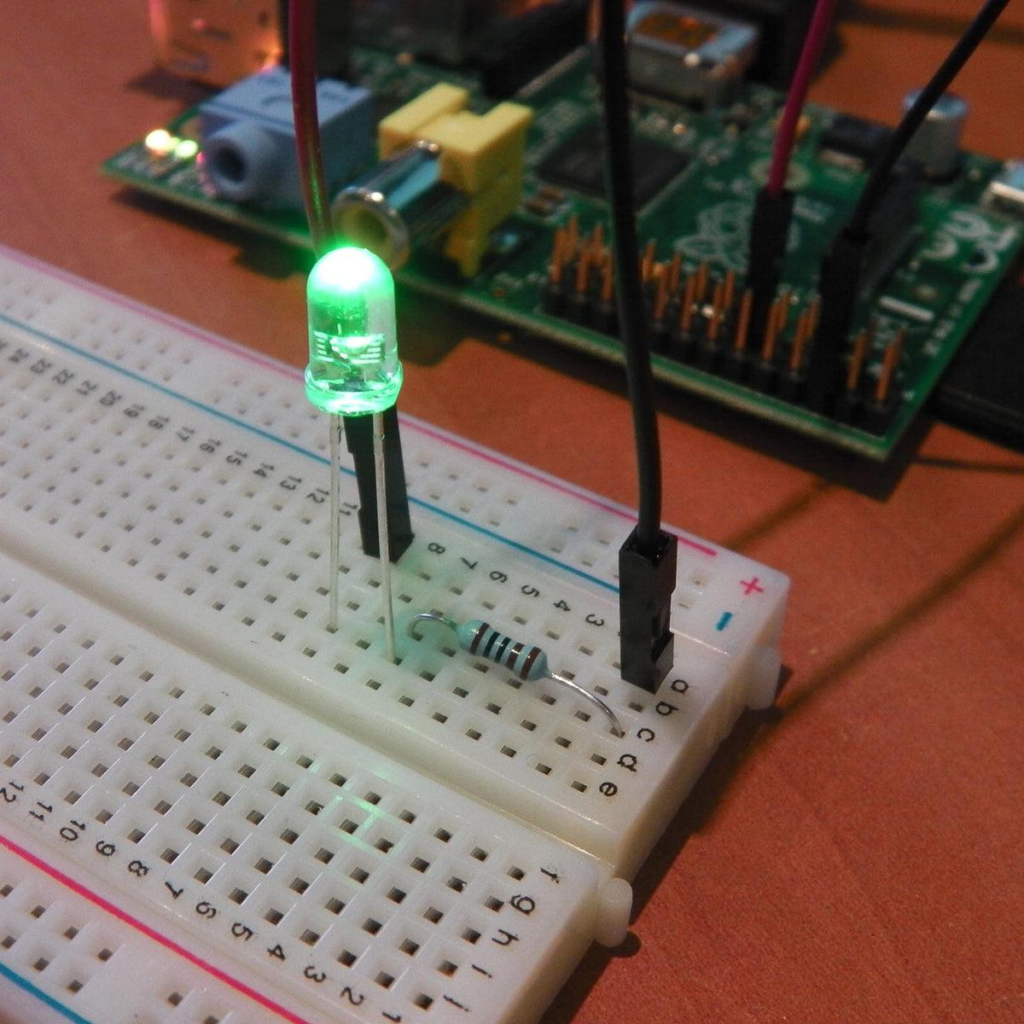
Circuit connections between Raspberry Pi, LED, resistor, and breadboard.
Working Principle
The Raspberry Pi LED Blinking Project demonstrates how GPIO pins can be controlled using software.
The process works as follows:
- Raspberry Pi sends a HIGH signal to GPIO 17.
- Current flows through the LED.
- LED turns ON.
- Raspberry Pi waits for one second.
- GPIO 17 changes to LOW.
- LED turns OFF.
- Raspberry Pi waits for one second.
- The cycle repeats continuously.
This creates a blinking LED effect.
How the Raspberry Pi LED Blinking Project Works
The Raspberry Pi LED Blinking Project uses Python programming to send digital signals to GPIO pin 17.
When the GPIO pin is HIGH, the LED receives power and lights up. When the GPIO pin is LOW, the LED turns off. By repeatedly switching between HIGH and LOW states, the Raspberry Pi LED Blinking Project creates a continuous blinking pattern.
This project helps students understand GPIO control, timing functions, and hardware-software interaction.
Python Code
The Raspberry Pi LED Blinking Project uses Python and the RPi.GPIO library.
Import Required Libraries
import RPi.GPIO as GPIO
import time
Set GPIO Numbering Mode
GPIO.setmode(GPIO.BCM)
Configure GPIO 17 as Output
GPIO.setup(17, GPIO.OUT)
Blink the LED
while True:
    GPIO.output(17, GPIO.HIGH)
    time.sleep(1)

    GPIO.output(17, GPIO.LOW)
    time.sleep(1)
Running the Program
After writing the code:
Step 1
Save the Python file.
Step 2
Open the terminal.
Step 3
Run the program using:
python led_blink.py
Step 4
Observe the LED connected to GPIO 17.
The LED should blink every second.
Output and Results
When the program runs successfully:
- LED turns ON for one second.
- LED turns OFF for one second.
- The cycle repeats continuously.
- GPIO pin 17 controls the LED output.
- Hardware responds according to the Python program.
This confirms successful communication between software and hardware.
Benefits of Raspberry Pi LED Blinking Project
The Raspberry Pi LED Blinking Project provides several educational benefits:
- Introduces GPIO programming.
- Teaches Python coding fundamentals.
- Demonstrates digital output control.
- Develops electronics assembly skills.
- Encourages hands-on STEM learning.
The Raspberry Pi LED Blinking Project serves as a foundation for more advanced robotics and automation projects.
Applications of Raspberry Pi GPIO
The knowledge gained from this project can be applied to many real-world systems.
Home Automation
Control lights, fans, and appliances.
Robotics
Operate motors and sensors.
IoT Projects
Create internet-connected devices.
Industrial Automation
Monitor and control equipment.
Smart Systems
Develop intelligent electronic devices.
Why Learn STEM Projects with RoboSiddhi?
At RoboSiddhi, students learn through practical projects that make technology fun and engaging.
The Raspberry Pi LED Blinking Project helps students understand:
- Raspberry Pi basics
- GPIO programming
- Python coding
- Circuit building
- Hardware interfacing
Through project-based learning, students gain valuable technical skills and confidence in technology.
Frequently Asked Questions
What is Raspberry Pi?
Raspberry Pi is a small single-board computer used for programming, electronics, and robotics projects.
Which GPIO pin is used in this project?
GPIO 17 is used to control the LED.
Why is a resistor needed?
The resistor limits current and protects the LED from damage.
Which programming language is used?
Python is used to write the Raspberry Pi LED Blinking Project code.
Is this project suitable for beginners?
Yes. The Raspberry Pi LED Blinking Project is one of the best beginner-level electronics and programming projects.
Why is the Raspberry Pi LED Blinking Project useful?
The Raspberry Pi LED Blinking Project helps students learn GPIO control, Python programming, and hardware interfacing while building a strong foundation for future robotics and IoT projects.
Conclusion
The Raspberry Pi LED Blinking Project is an excellent beginner project that teaches students how software interacts with hardware using GPIO pins. Through simple circuit connections and Python programming, learners can create a blinking LED system while understanding important concepts such as digital output control and timing.
As one of the most popular Grade 9 STEM Activities, the Raspberry Pi LED Blinking Project provides practical experience in electronics, coding, and engineering. It serves as an ideal starting point for advanced projects involving sensors, robotics, automation, and IoT technologies.