
The ESP32 Wi-Fi Controlled LED Automation Project is an exciting introduction to the world of Internet of Things (IoT) and wireless automation. In this project, students learn how to control an LED remotely using an ESP32 microcontroller and a Wi-Fi network. Unlike traditional LED projects where a switch or button is used, this project allows users to turn an LED ON and OFF through a web browser.
This project is an excellent choice for fun Grade 8 STEM Activities because it combines programming, electronics, networking, and automation concepts in a practical and engaging way. Students gain hands-on experience with modern technologies that are widely used in smart homes, industrial automation, and IoT systems.
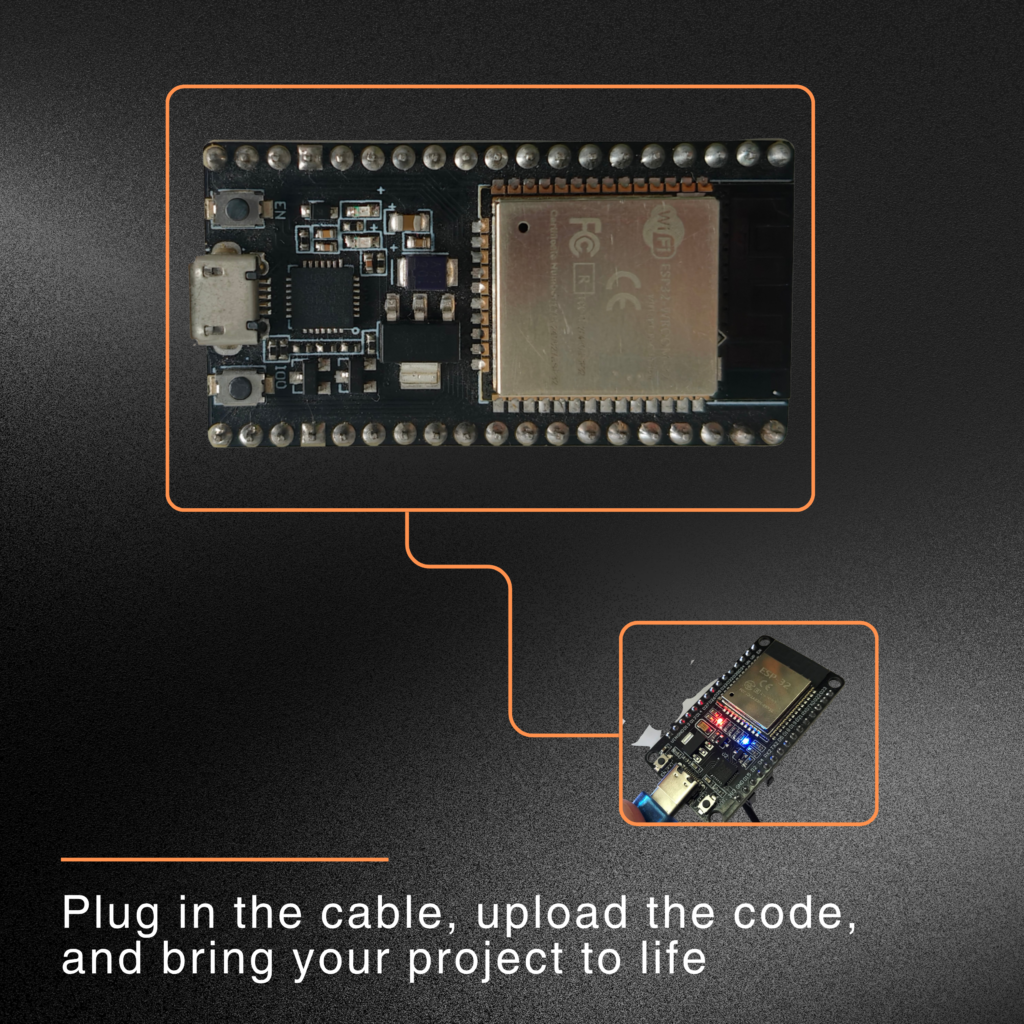
Table of Contents
What is ESP32?
ESP32 is a powerful microcontroller developed for IoT applications. It includes built-in Wi-Fi and Bluetooth capabilities, making it ideal for wireless communication projects.
Some important features of ESP32 include:
- Built-in Wi-Fi connectivity
- Bluetooth support
- Multiple GPIO pins
- Fast processing speed
- Low power consumption
- Easy programming using Arduino IDE
Because of these features, ESP32 is widely used in automation and smart device applications.
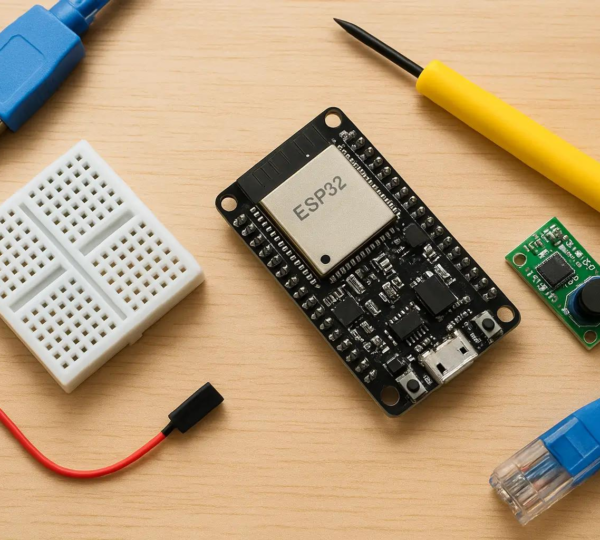
Components Required for ESP32 Wi-Fi Controlled LED Automation Project
To build the ESP32 Wi-Fi Controlled LED Automation Project, the following components are required:
- ESP32 Development Board
- LED
- 220Ω Resistor
- Breadboard
- Jumper Wires
- USB Cable
- Computer with Arduino IDE
- Wi-Fi Network or Mobile Hotspot
Understanding the Working Principle of ESP32 Wi-Fi Controlled LED Automation Project
The project works using the built-in Wi-Fi capability of the ESP32. After connecting to a Wi-Fi network, the ESP32 creates a simple web server. The web server provides a webpage containing ON and OFF buttons.
When a user opens the webpage and presses the ON button, the ESP32 receives the command and turns the LED ON. Similarly, pressing the OFF button switches the LED OFF.
This demonstrates how electronic devices can be controlled remotely over a network.
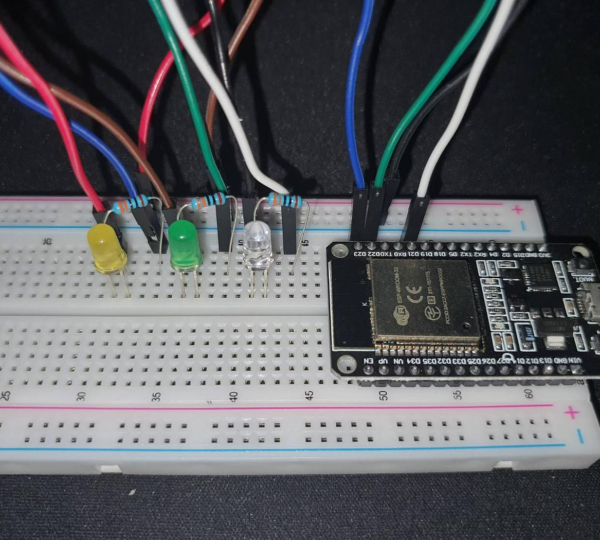
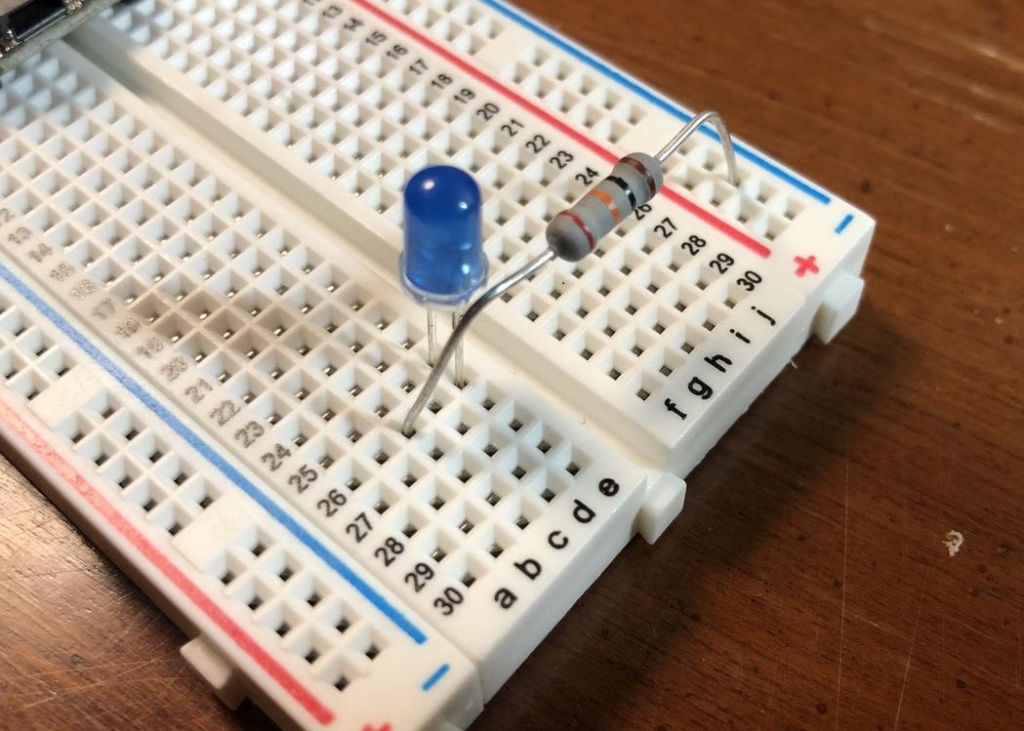
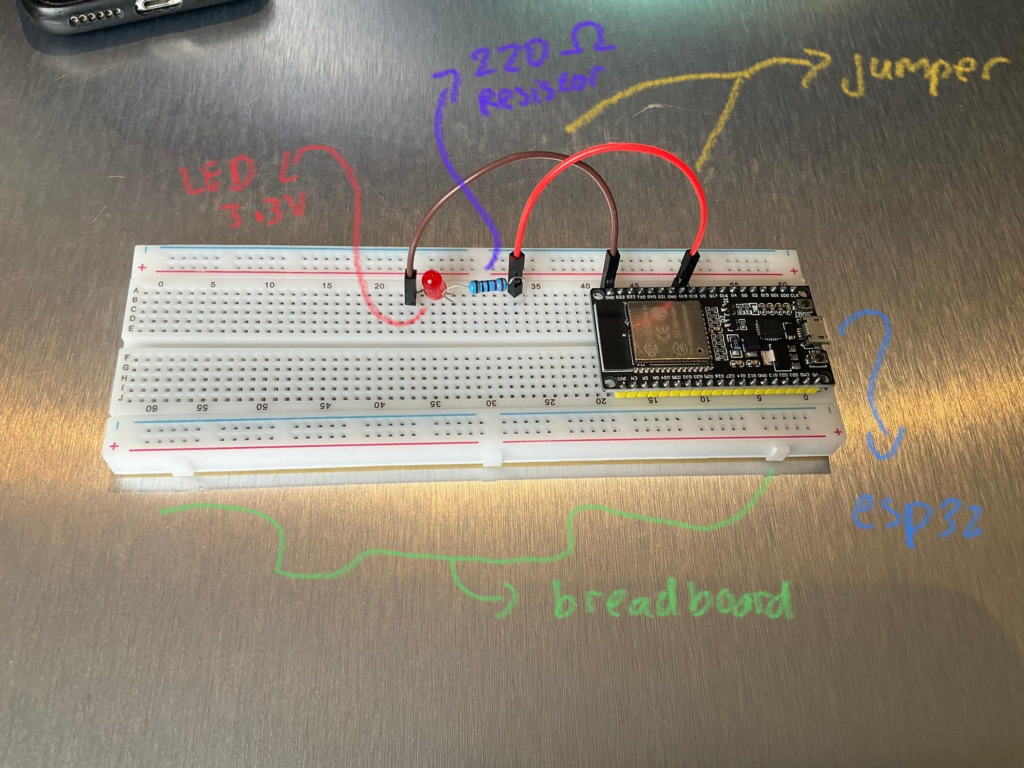
Circuit Connections
The hardware setup is simple and beginner-friendly.
LED Connections
- LED positive terminal (Anode) → Resistor
- Resistor → GPIO Pin 2 of ESP32
- LED negative terminal (Cathode) → GND
ESP32 Connections
- GPIO 2 → LED Control Pin
- GND → Common Ground
The resistor protects the LED from excessive current and ensures safe operation.
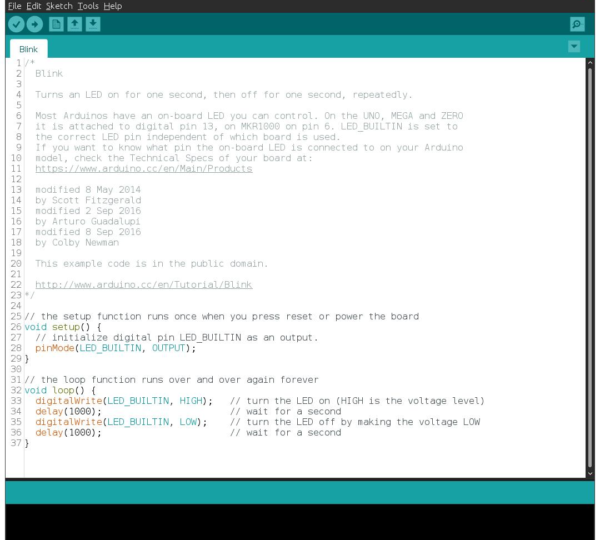
Programming the ESP32
The project is programmed using Arduino IDE. Before writing the code, the Wi-Fi library must be included.
The program performs the following tasks:
- Connects ESP32 to a Wi-Fi network.
- Creates a web server.
- Displays a control webpage.
- Receives ON/OFF commands.
- Controls the LED accordingly.
The Wi-Fi network name (SSID) and password are entered in the code before uploading.
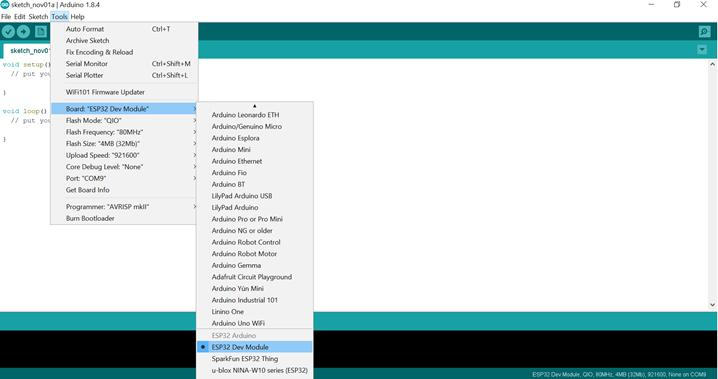
Uploading the Program
Follow these steps to upload the code:
- Open Arduino IDE.
- Select ESP32 board from the board manager.
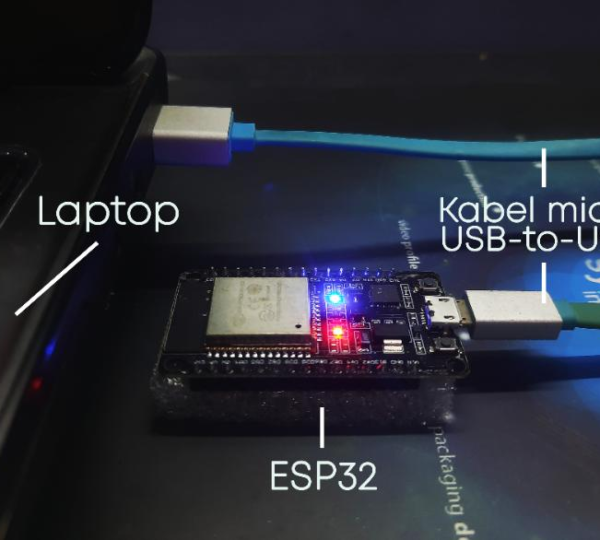
- Connect ESP32 to the computer using a USB cable.
- Select the correct COM port.
- Click Upload.
- Press the Boot button if required.
- Wait for successful upload.
After uploading, open the Serial Monitor to view the assigned IP address.
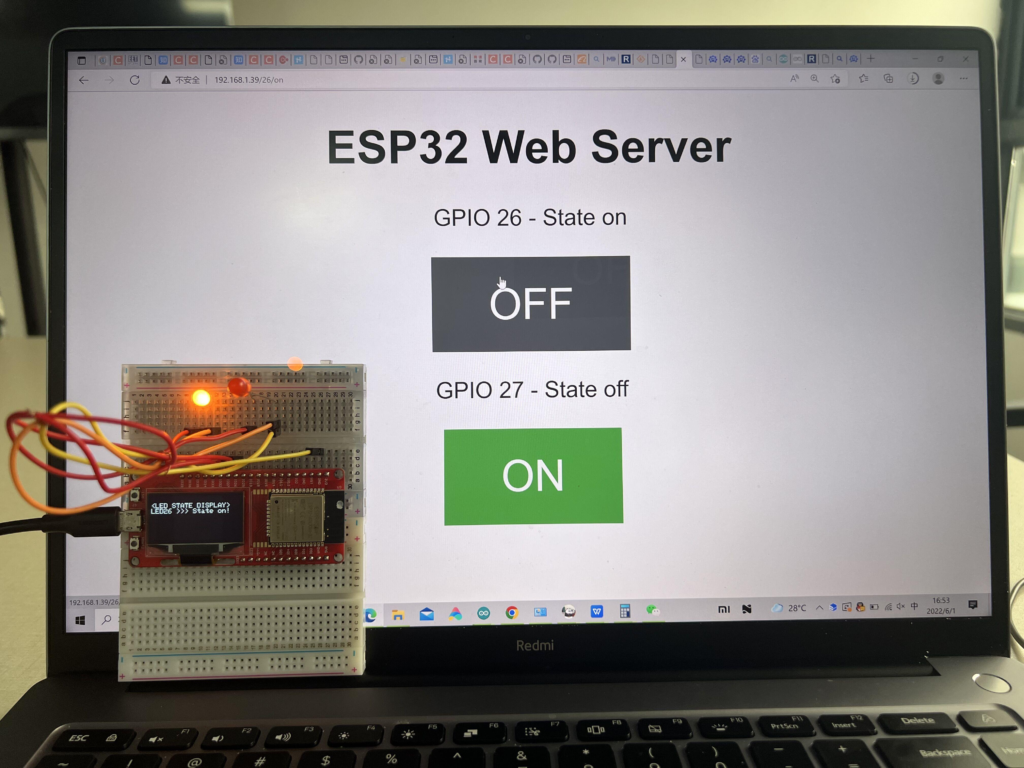
Testing the Project ESP32 Wi-Fi Controlled LED Automation Project
Once the ESP32 connects to Wi-Fi, it displays its IP address in the Serial Monitor.
To test the project:
- Open a web browser.
- Enter the IP address shown in Serial Monitor.
- Access the control webpage.
- Click the ON button to turn on the LED.
- Click the OFF button to turn off the LED.
The LED responds instantly to the commands received from the webpage.
Applications of ESP32 Wi-Fi Automation
The concepts learned in this project can be expanded into many real-world applications:
- Smart Home Automation
- Wi-Fi Controlled Lights
- Smart Appliances
- IoT Security Systems
- Remote Monitoring Systems
- Industrial Automation
- Smart Agriculture Projects
- Energy Management Systems
These applications demonstrate the practical importance of IoT technology in everyday life.
Learning Outcomes
By completing this Grade 8 STEM Activities project, students will learn:
- Basics of ESP32 programming
- Wi-Fi communication concepts
- Web server implementation
- GPIO pin control
- LED interfacing
- IoT fundamentals
- Circuit design and assembly
- Problem-solving skills
These skills provide a strong foundation for future robotics and automation projects.
Why Choose RoboSiddhi STEM & Robotics?
At RoboSiddhi STEM & Robotics, students learn through practical project-based activities that develop creativity, innovation, and technical skills. Projects like the ESP32 Wi-Fi Controlled LED Automation Project help learners understand real-world technologies through hands-on experience.
RoboSiddhi provides:
- STEM Education Programs
- Robotics Training
- Arduino and ESP32 Projects
- AI and IoT Learning Modules
- School Robotics Lab Setup
- Coding and Innovation Workshops
Through structured STEM learning, students gain confidence in building technology-based solutions and preparing for future careers.
Conclusion
The ESP32 Wi-Fi Controlled LED Automation Project is an excellent introduction to IoT and wireless automation. By combining ESP32 programming, Wi-Fi communication, and electronic circuit design, students gain valuable hands-on experience with modern technology.
As a Grade 8 STEM Activities project, it helps learners understand how devices can communicate over networks and be controlled remotely. The project is simple to build, educational, and serves as a strong foundation for advanced automation and IoT applications.